How to Make Herbal Balm at Home
Creating your own herbal balm at home allows you to harness the soothing power of nature for exceptional skin care.
This straightforward guide will seamlessly lead you through each step, from gathering the essential ingredients to experimenting with delightful combinations that suit your preferences.
Whether your goal is to heal dry skin, alleviate aches, or enjoy the benefits of essential oils, crafting herbal balm is simple and immensely satisfying.
Get ready to turn your kitchen into a vibrant apothecary, where you can create a balm uniquely tailored to your needs!
Contents
- Key Takeaways:
- 1. Gather Your Ingredients
- 2. Choose Your Base Oil
- 3. Select Your Herbs
- 4. Prepare Your Herbs
- 5. Infuse Your Oil
- 6. Strain the Oil
- 7. Melt Beeswax
- 8. Mix in Essential Oils
- 9. Pour into Containers
- 10. Allow to Cool and Solidify
- 11. Label and Store
- 12. Experiment with Different Combinations
- 13. Consider Adding Vitamin E Oil for Preservation
- 14. Test for Allergies and Sensitivities
- 15. Enjoy the Benefits of Your Homemade Herbal Balm
- Frequently Asked Questions
- 1. What ingredients do I need to make herbal balm at home?
- 2. How do I infuse herbs into the balm?
- 3. Can I use fresh herbs instead of dried herbs?
- 4. How long does homemade herbal balm last?
- 5. Can I customize the balm to target specific concerns?
- 6. Are there any safety precautions to keep in mind when making herbal balm at home?
Key Takeaways:
- Gather all necessary ingredients and materials before starting. Having everything on hand will make the process smoother and more efficient.
- Choose a nourishing and skin-friendly base oil, such as coconut or olive oil, for your herbal balm.
- Experiment with different herbs and essential oils to create unique combinations and customize your herbal balm for specific benefits.
1. Gather Your Ingredients
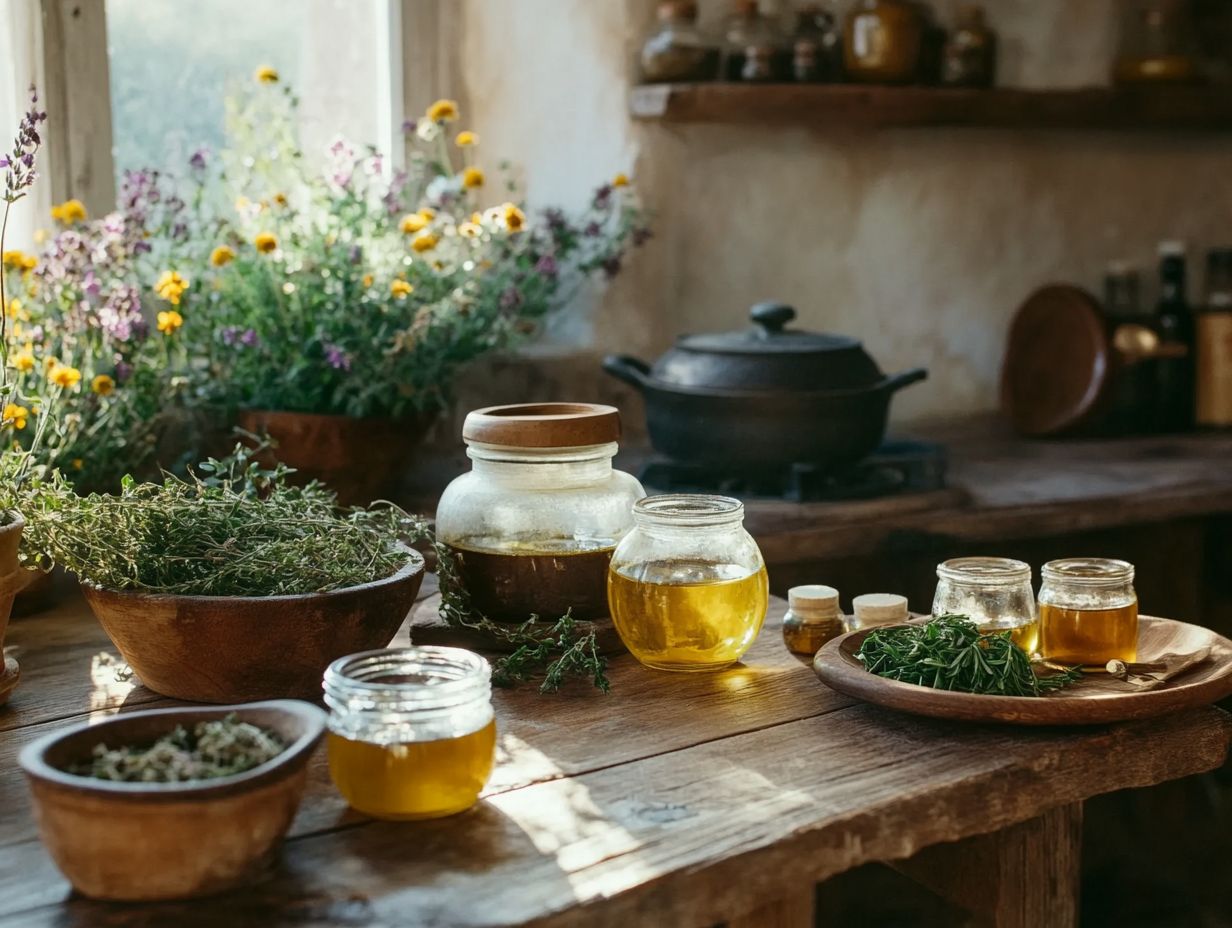
Gathering the right ingredients is the cornerstone of crafting an effective herbal balm. By selecting high-quality materials like plantain leaf, yarrow flower, and comfrey leaf, you can elevate your homemade gifts and fully embrace a soothing, nature-inspired approach to skin care and topical applications.
Incorporating fresh herbs into your recipes infuses your balms with vibrant flavors and delightful aromas. It also allows you to tap into the myriad health benefits these plants offer. For instance, yarrow s anti-inflammatory properties make it an exceptional choice for minor skin irritations. Plantain is known for its healing qualities, particularly in soothing cuts and bruises.
The joy of crafting DIY salves lies in the creative process. Dive into the delightful journey of crafting your own remedies as you transform natural ingredients into personalized solutions. Participating in a video contest can also be a fantastic way to showcase your crafting skills, inspiring others to explore the enchanting world of herbal remedies.
2. Choose Your Base Oil
Choosing the right base oil for your herbal balm is essential. Oils like olive oil, coconut oil, and shea butter deliver outstanding moisturizing properties and enhance the skin benefits of your herbal infusions.
These oils have different consistencies and absorption rates, leading to unique textures and sensations on your skin. For example, coconut oil tends to leave a slightly greasier finish, while olive oil absorbs quickly, offering a silky feel.
Incorporating moisturizing herbal components like calendula or chamomile amplifies the nurturing qualities of your balm. This not only provides soothing effects but also adds a delightful fragrance. To enhance your formulations, consider following simple steps to create herbal-infused oils. Each combination allows you to craft a distinctive product tailored to different skin types, promoting nourishment and health in a naturally effective manner.
3. Select Your Herbs
Selecting the right herbs is crucial for crafting an effective herbal balm. Consider incorporating herbs like plantain leaf, yarrow flower, and comfrey leaf each with unique healing properties that can address various skin conditions while enhancing your natural lifestyle.
In addition to these powerful botanicals, calming calendula and chamomile shine for their remarkable skin-nourishing benefits. Calendula s anti-inflammatory properties work wonders for soothing irritated skin, making it a staple in any herbal remedy. Chamomile is known for its calming effects; it not only reduces redness but also offers vital protection against environmental stressors.
Together, these herbs create a harmonious blend that nourishes the skin, ensuring it remains vibrant and resilient against everyday challenges. By incorporating these natural elements, you enrich your balm and embrace a holistic approach to skincare.
Now that you have all the information, why not share your own herbal balm creations or experiences? Join the community and inspire others!
4. Prepare Your Herbs
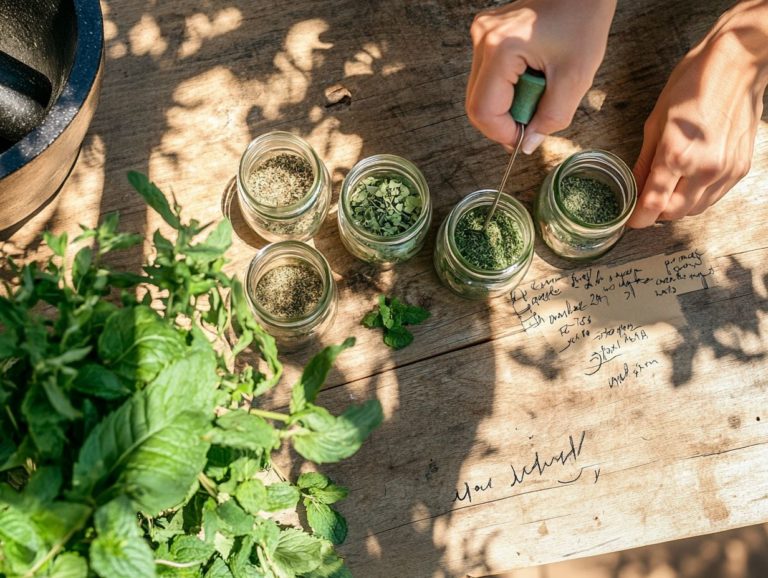
Preparing your herbs with precision is essential for unlocking their healing benefits. Whether you choose fresh herbs or dried ones from wildcrafting, this preparation phase sets the stage for powerful herbal infusions that truly nourish the skin.
Start by giving your herbs a thorough cleaning to remove any dirt or pesticides. This preserves their integrity and effectiveness. Once they re clean, the drying process comes into play, concentrating the plant’s essential oils and enhancing their therapeutic properties. Choose a drying method that maintains the herbs vibrancy air-drying or using a dehydrator are excellent options.
After drying, chop the herbs into smaller pieces to increase their surface area. This allows for better extraction during the infusion process. Each step in this meticulous preparation plays a crucial role in maximizing the potential benefits of the herbal oils while ensuring they retain their natural potency.
5. Infuse Your Oil
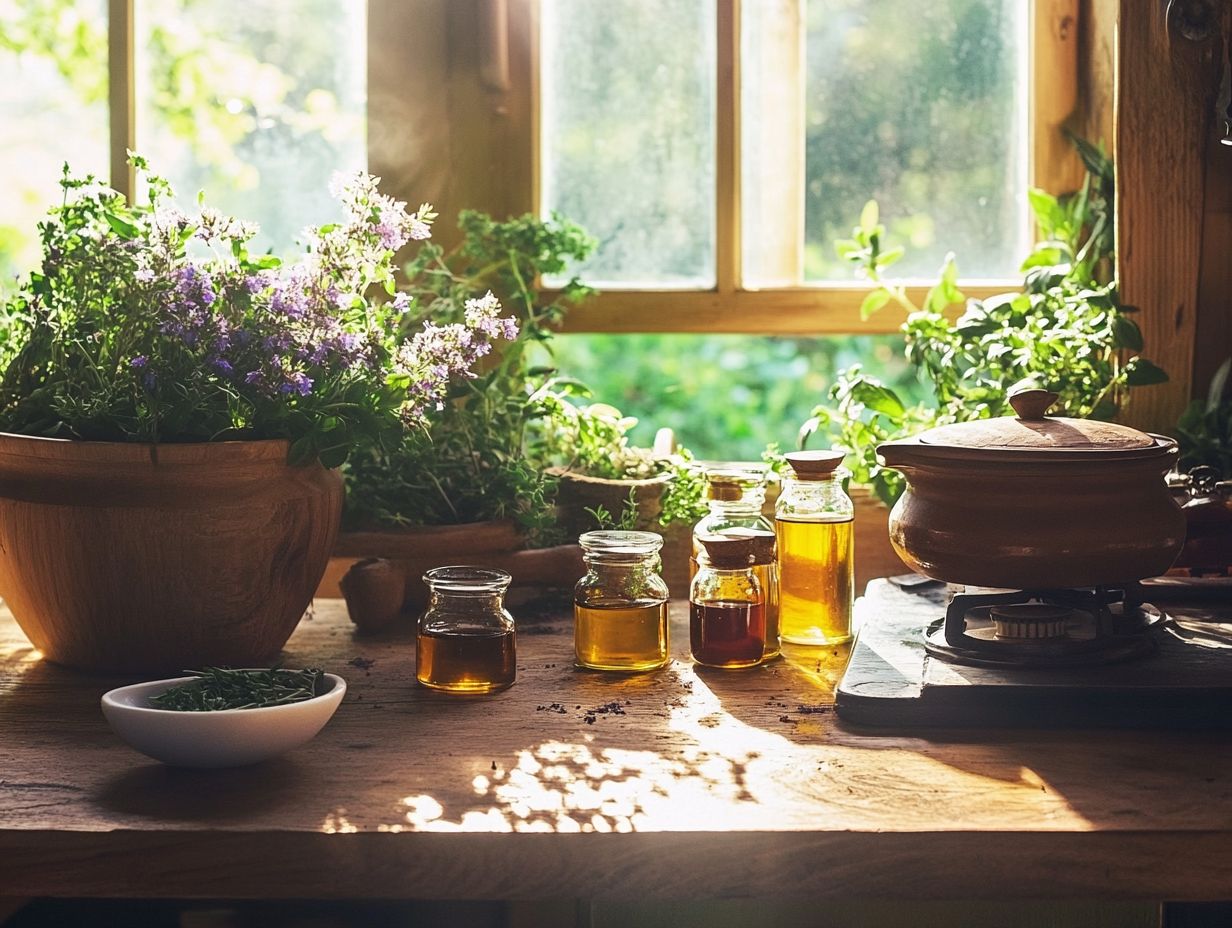
Infusing your oil is an essential step that allows the healing properties of your chosen herbs to transfer seamlessly into the base oil. Techniques like the double boiler method yield optimal results and enhance your herbal infusions.
This process requires careful temperature control. Keeping the heat low to medium, around 100 F to 140 F, is vital to avoid burning the herbs.
Time is crucial for a rich infusion. A longer infusion period, generally from a few hours to several weeks, cultivates a richer concentration of herbal essence. By selecting olive oil as your carrier, you not only elevate the flavor but also gain additional benefits, such as its antioxidant properties and skin-nourishing qualities making it an excellent choice for those seeking natural remedies.
6. Strain the Oil
Straining the oil is a crucial step that eliminates solid herb particles, resulting in a smooth herbal oil. This oil retains all the soothing qualities and skin protection properties of your original ingredients.
You can achieve this through various methods, each offering unique benefits. For example, using a cheesecloth provides effective yet gentle filtering, capturing even the finest particles while preserving the oil’s integrity. Fine mesh strainers are also a fantastic option for quick and efficient separation.
No matter which method you choose, the goal is to ensure that the final product is completely free from impurities. This ensures your herbal oil packs the most punch while maintaining its essential qualities.
7. Melt Beeswax
Melting beeswax is essential for achieving the perfect consistency in your herbal salve. This natural wax serves as a thickener that protects your skin and enhances the moisturizing properties of your balm.
To melt beeswax effectively, start by chopping it into smaller pieces for quicker results. Then, place those pieces in a double boiler. Maintain low to moderate heat, ideally between 145 F to 150 F, to prevent the wax from scorching. As it starts to liquefy, gently stir in your chosen herbal oil, allowing its soothing qualities to blend into the mixture.
Adding beeswax gives your balm a rich texture and a protective barrier that locks in moisture. This makes your homemade balms particularly beneficial for dry or sensitive skin.
8. Mix in Essential Oils
Incorporating essential oils into your herbal balm elevates its therapeutic benefits. Oils like lavender and eucalyptus provide delightful fragrances and enhance the overall effectiveness of your skincare treatment.
Pick essential oils carefully to boost your balm’s benefits. Each oil has distinctive properties that target specific skin concerns. For example, lavender is renowned for its calming effects, while eucalyptus boasts antiseptic qualities that can assist in healing minor wounds. For more detailed instructions, check out homemade herbal salves: a quick guide.
Understanding these diverse benefits allows you to customize your balms to suit your individual needs. The combined effects of blending various oils can create a more powerful healing journey. Choose wisely and apply them thoughtfully.
Get started on your herbal balm journey today and experience nature’s benefits for yourself!
9. Pour into Containers
Pouring your mixture into containers marks the final step in bringing your homemade gifts to life. Choosing the right packaging preserves your herbal balm and elevates its aesthetic appeal as a skincare product.
When selecting ideal containers, consider materials like glass, metal, or eco-friendly plastics. Each offers unique advantages. Glass jars provide an elegant presentation and a superior seal, which helps maintain the balm s integrity. Metal tins are sturdy and travel-friendly.
The container size can affect usability. Opt for smaller options for on-the-go applications or larger jars for generous servings at home. The right choice harmonizes functionality with your personal style, ensuring the final product is effective and visually captivating.
10. Allow to Cool and Solidify
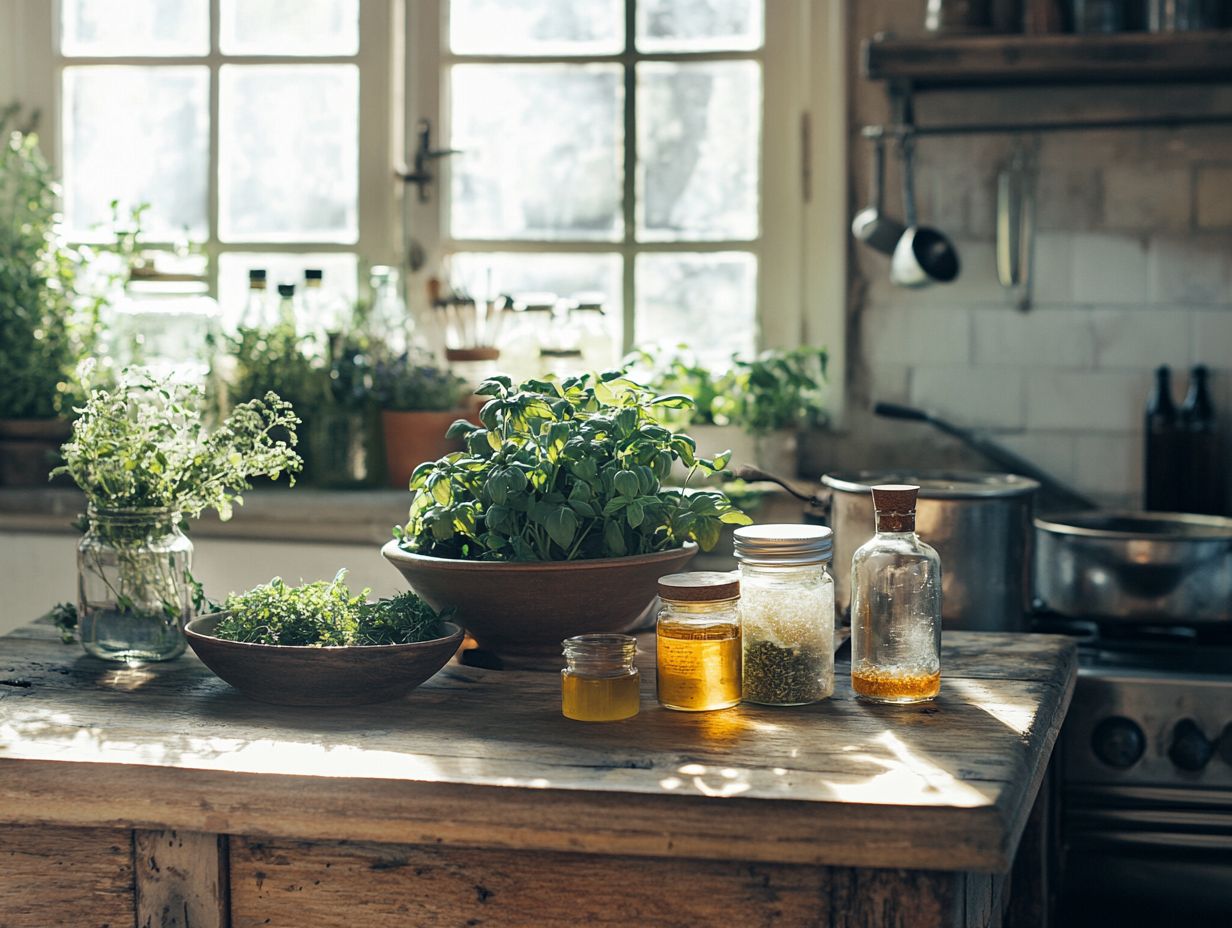
Allowing your herbal balm to cool and solidify is essential for getting the right texture while ensuring the skin’s moisture properties are locked in and ready for soothing applications.
This cooling process is a vital phase that allows the ingredients to meld together, creating a cohesive blend that is effective and delightful to apply. Don t rush this step; it s key to a successful balm!
Your patience during this phase enhances the balm s consistency! It ensures that the beneficial oils and waxes set properly, aligning all properties for optimal nourishment.
After all, quality takes time. Taking a moment to let everything settle significantly elevates your final product.
11. Label and Store
Labeling and storing your homemade balm correctly is crucial for understanding its ingredients and their specific uses, especially when addressing targeted skin conditions.
Clear labeling clarifies the balm’s purpose and serves as a handy reference for any allergies or sensitivities you or your loved ones may have. Proper storage conditions are vital for maintaining the balm’s stability and efficacy. Exposure to heat, light, or moisture can compromise its composition over time.
It’s important to consider the shelf life. Using expired products can diminish effectiveness and lead to skin irritation.
By focusing on these details, you can enhance the benefits of your herbal creations, ensuring they remain potent and safe for use.
12. Experiment with Different Combinations
Experimenting with various combinations of herbs and oils allows you to uncover unique herbal remedies tailored specifically to your skincare needs. Indulge in the soothing qualities of natural ingredients.
By blending herbs like chamomile and lavender with nourishing oils such as jojoba or coconut, you can craft balms that hydrate your skin and offer calming aromatherapy benefits.
Explore your kitchen and garden for inspiration, as unconventional pairings may lead to delightful surprises. Share your creative concoctions, whether it s a zesty citrus-infused balm or a rich herbal blend.
This spirit of collaboration enhances your personal experiences and inspires others to embark on their own herbal journeys, cultivating a community that celebrates natural wellness together.
13. Consider Adding Vitamin E Oil for Preservation
Considering the addition of Vitamin E oil to your herbal balm offers preservation benefits and enhances skin moisture, extending the life and effectiveness of your homemade salves.
This powerful antioxidant helps neutralize harmful free radicals that can lead to skin damage and premature aging. By incorporating it into your formula, you ensure that the balm retains its potency over time while delivering essential nutrients to your skin. Vitamin E helps strengthen the skin barrier, promoting better hydration and resilience.
With regular use, you may notice a significant improvement in skin texture and elasticity, making it an invaluable component for anyone looking to maintain healthy, radiant skin through natural remedies.
14. Test for Allergies and Sensitivities
Conducting a patch test is essential for identifying any potential allergies or sensitivities to your homemade herbal balm. This ensures that your herbal treatments are safe for your skin.
This simple procedure can save you from discomfort or bad reactions that might arise from using unfamiliar ingredients. To start, choose a small area of your skin. Your inner forearm is ideal. Apply a small amount of the balm and wait for at least 24 hours.
Watch for irritation signs like redness, itching, or swelling. If you don t experience any symptoms, it usually means the balm is safe for broader application.
Always prioritize this step; it makes your experience safer as you introduce new products into your skincare routine.
15. Enjoy the Benefits of Your Homemade Herbal Balm
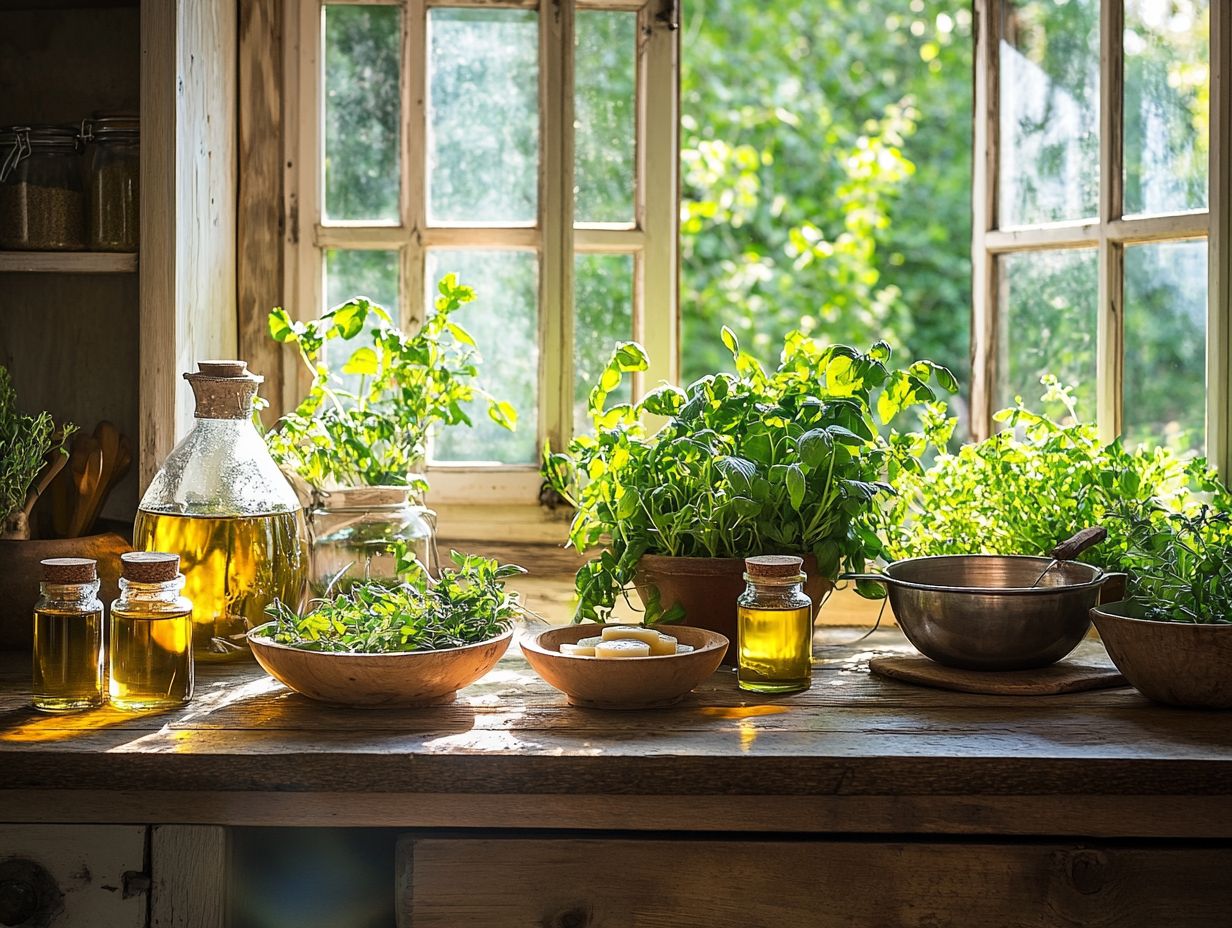
Once you ve completed your herbal balm, it s time to revel in the myriad benefits it brings. The carefully selected ingredients work together harmoniously, providing unparalleled skin protection and a wealth of healing properties.
Incorporating this balm into your daily skincare routine can elevate hydration, soothe irritation, and even assist with minor cuts or burns. Just imagine the relief it offers after a long day in the sun or during those harsh winter months.
Whether you’re reaching for a quick touch-up before heading out or indulging in a soothing treatment after a hot shower, its versatility is truly impressive. Share your experiences with this remarkable balm! Tell us how it has transformed your skincare regimen and provided comfort in moments of need.
Each story contributes to the rich legacy of natural healing and self-care.
Frequently Asked Questions
1. What ingredients do I need to make herbal balm at home?
To make herbal balm at home, you will need beeswax, carrier oil (such as olive or coconut oil), and your choice of dried herbs or essential oils. You can also add other ingredients like shea butter or cocoa butter for added benefits.
2. How do I infuse herbs into the balm?
To infuse herbs into the balm, first melt the beeswax and carrier oil together. Then, add your desired herbs and let the mixture sit on low heat for at least 30 minutes. Strain out the herbs before pouring the mixture into containers to cool and solidify.
3. Can I use fresh herbs instead of dried herbs?
Yes, you can use fresh herbs, but be sure to dry them thoroughly first. This prevents any water from getting into the balm and causing mold or spoilage.
4. How long does homemade herbal balm last?
If stored properly in a cool, dry place, homemade herbal balm can last up to a year. Check for any signs of spoilage, such as a rancid smell or change in texture, before use.
5. Can I customize the balm to target specific concerns?
Yes, you can customize the balm by choosing specific herbs and essential oils that address your desired concerns. For example, use lavender and peppermint for a soothing and cooling balm, or eucalyptus and rosemary for a decongesting balm.
6. Are there any safety precautions to keep in mind when making herbal balm at home?
Yes, properly research the herbs and essential oils you are using to ensure they are safe for topical use. It’s also important to sanitize all equipment and containers to avoid contamination. If you have any allergies, test a small amount of the balm on a patch of skin before using it on larger areas.

