DIY Herbal Cough Drops: A Step-by-Step Guide
When cold and flu season hits, it’s easy to think that your only option is to reach for those store-bought remedies. But imagine if you could create your own soothing cough drops right at home.
With just a few simple ingredients and a little bit of know-how, crafting herbal cough drops is a natural remedy for soothing coughs. It can be both enjoyable and satisfying.
This guide will walk you through every step of the process, from gathering your ingredients to storing your finished product. You’ll discover tips to refine your drops and important safety precautions to consider along the way.
Get ready to craft an effective and fun natural remedy!
Contents
- Key Takeaways:
- 1. Gather Your Ingredients and Supplies
- 2. Prepare Your Work Area
- 3. Make the Herbal Infusion
- 4. Strain the Infusion
- 5. Add Honey and Essential Oils, Key Ingredients in Natural Cough Remedies
- 6. Heat the Mixture
- 7. Test the Consistency
- 8. Pour the Mixture into Molds
- 9. Let the Cough Drops Cool and Set
- 10. Remove the Cough Drops from the Molds
- 11. Store the Cough Drops
- 12. Use Your Homemade Cough Drops
- 13. Tips and Tricks for Making the Perfect Cough Drops
- 14. Safety Precautions When Making Cough Drops
- 15. Final Thoughts: Is Making Your Own Cough Drops Worth It?
- Frequently Asked Questions
Key Takeaways:
- Making your own herbal cough drops is easy and cost-effective, requiring basic ingredients and supplies.
- Choose different essential oils for flavor and added health benefits, along with herbal infusions to relieve specific symptoms.
- It’s important to follow safety precautions and test the consistency before pouring the mixture into molds.
1. Gather Your Ingredients and Supplies
Gathering the right ingredients and supplies is crucial for crafting your own herbal cough drops a soothing remedy that blends natural elements like raw honey, which helps fight germs, coconut oil, and various medicinal herbs such as horehound and thyme.
Raw honey not only soothes the throat but also aids in healing. Coconut oil lends a creamy texture and is celebrated for its immune-boosting qualities.
Horehound acts as a cough-relieving agent, helping to loosen mucus, while thyme provides antimicrobial benefits that support respiratory health. Many people suffer from an irritating cough during cold and flu season, making these drops essential.
To begin, collect fresh raw honey, renowned for its soothing properties. Consider incorporating a few drops of peppermint oil to enhance flavor and provide an extra soothing effect.
When sourcing these ingredients, always choose organic, high-quality herbs from trusted suppliers to maximize their health benefits. A candy thermometer is essential for monitoring the temperature, as precise control during cooking ensures the best texture in your drops.
2. Prepare Your Work Area
Preparing your work area is an essential step in making herbal cough drops, as it sets the stage for a clean and organized environment where you can efficiently utilize natural ingredients.
A tidy space promotes safety and enhances your focus, allowing for precise measurements and effective outcomes. Consider essential tools like measuring cups, which are crucial for ensuring that each ingredient is added in the correct proportions.
A candy thermometer is critical for monitoring the temperature of your mixture, as hitting the right consistency is key to crafting successful cough drops.
Incorporating suitable containers for mixing and storing will further streamline your process, ensuring that all ingredients remain fresh and easily accessible while you work. This meticulous preparation will optimize your efficiency and elevate your herbal crafting experience.
3. Make the Herbal Infusion
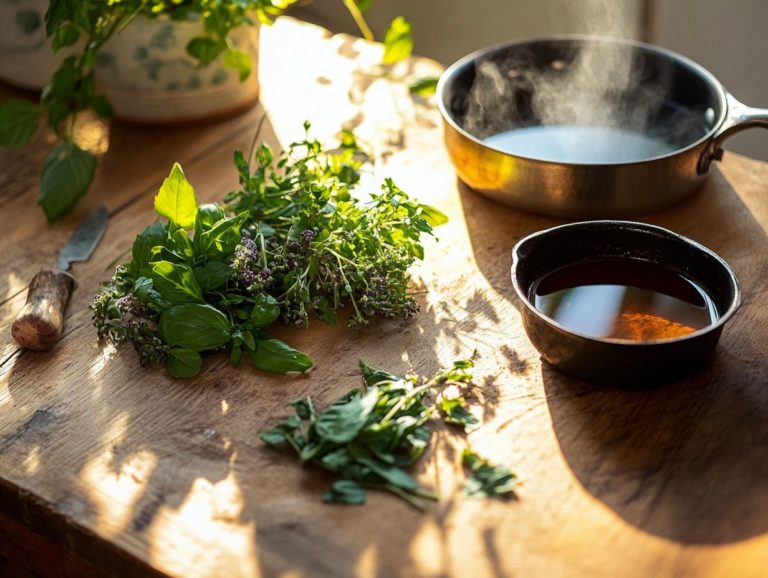
To craft a powerful herbal infusion for your cough drops, you ll want to combine soothing herbs like cinnamon and ginger with other medicinal varieties renowned for their health benefits. This blend allows the natural ingredients to unfurl their flavors and properties.
Begin by measuring out the herbs, aiming for about one tablespoon of each to create a concentrated infusion. Place these herbs in a heatproof container and pour boiling water over the mixture.
Cover it up and let it steep for at least 30 minutes. This waiting period ensures that the beneficial compounds fully meld into the liquid. If a stronger flavor is your preference, feel free to simmer the herbs on low heat for 10 to 15 minutes.
This careful process amplifies the infusion’s efficacy while highlighting the healing properties of each herb. For those interested in making their own remedies, check out homemade herbal salves: a quick guide. The result is a rich concoction brimming with flavor and health benefits, making your cough drops all the more effective.
4. Strain the Infusion
Straining the herbal infusion is an important step in your herbal process. This method separates the liquid from the solid herbs, ensuring that only the beneficial properties make their way into your final product.
Use cheesecloth or fine mesh strainers for a finely filtered infusion. Cheesecloth, with its loose weave, allows for thorough drainage while capturing even the tiniest particles. A fine mesh strainer provides a precise filtering option. Removing all solid particles is essential for a smooth consistency, enhancing both flavor and efficacy.
This meticulous attention to detail guarantees that your resulting cough drops deliver a concentrated dose of natural benefits, free from any grit that could detract from the soothing experience.
5. Add Honey and Essential Oils, Key Ingredients in Natural Cough Remedies

Adding raw honey and essential oils to your herbal infusion does more than just elevate the flavor of your cough drops; it also amplifies their health benefits, transforming them into a delicious and soothing remedy for throat irritation.
Among the many varieties of honey, Manuka honey truly shines with its impressive antibacterial properties, offering relief from respiratory issues. This fantastic honey boasts high levels of methylglyoxal (a compound known for its antibacterial properties), giving you extra protection against infections!
To complement the soothing effects of honey, incorporating essential oils like eucalyptus and peppermint can significantly enhance the therapeutic qualities. Eucalyptus is renowned for its ability to relieve respiratory issues, while peppermint oil delivers a refreshing sensation that eases discomfort and fosters easier breathing.
When combined, these ingredients form a powerful concoction that not only addresses coughs but also promotes overall wellness.
6. Heat the Mixture
Heating the mixture is a critical step in crafting your herbal cough drops. It not only dissolves the ingredients but also transforms them into a sweet soothing syrup that’s delicious that solidifies beautifully into the final candy form.
Using a candy thermometer is essential! It allows you to monitor the temperature with precision, ensuring the mixture attains the ideal consistency for those chewy, satisfying drops.
Getting the temperature just right is key; overheating could lead to a range of issues, including an undesirable burnt flavor and a texture that s too hard or crumbly. By paying careful attention to this process, you preserve the herbal benefits, ensuring your remedy is both effective and enjoyable. It s definitely worth the extra effort to get it just right.
Try making these cough drops at home today and experience the soothing relief they offer!
7. Test the Consistency
Testing the consistency of your herbal cough drops mixture is essential for achieving that perfect texture. Crafting these soothing lozenges is a rewarding experience. You want them to strike the ideal balance not too hard, not too soft ensuring they re pleasant to consume.
One reliable method to gauge this is the cold water test. Simply drop a small amount of the mixture into a bowl of cold water and observe its firmness once it cools. Ideally, you want the mixture to form a flexible yet firm ball that retains its shape without crumbling. If you find the drops too sticky or mushy, it likely means there s excess liquid. On the other hand, if they’re overly hard, it may be time to introduce a bit more moisture.
Making these adjustments will enhance not only the usability of the drops but also amplify their soothing properties in the final product.
8. Pour the Mixture into Molds
Poring the mixture into molds is where the magic happens, as your homemade cough drops begin to take shape. This step allows you to craft uniquely sized and flavored soothing lozenges tailored just for your family.
You can use various types of molds, such as silicone molds or candy trays, to create these delightful treats. Silicone molds, in particular, are a fantastic choice due to their flexibility, making it a breeze to pop out the drops without risk of damage.
A light coating of cooking spray works wonders to ensure the drops come out smoothly. For an added touch of fun, consider using molds that shape the drops into playful figures like animals or stars, making the cough drops more appealing to children.
Involving little ones in the selection of fun shapes might just entice them to enjoy their soothing remedies when they need them most.
9. Let the Cough Drops Cool and Set
Allowing the cough drops to cool and set is an essential step that ensures they solidify correctly. The end result is a delightful hard candy that s both effective and tasty, preserving both their flavor and the medicinal properties of the herbs you choose, which play a crucial role in their effectiveness.
Be patient; the cooling time can vary significantly depending on your specific recipe and the ambient temperature in your kitchen. If your kitchen is warm, you might find the cooling process taking a bit longer, while a cooler environment could speed things up. Keep a close eye on your drops; you’re looking for that dull sheen that signals they’ve hardened.
Gently touching the edges can help you gauge their readiness. If they feel firm and the surface is slightly tacky, it s time to remove them from the molds. Paying close attention to detail guarantees a successful batch every time.
10. Remove the Cough Drops from the Molds

Removing the cough drops from the molds is a satisfying moment that allows you to appreciate the fruits of your labor, revealing your homemade remedy that s both effective and brimming with health benefits.
To gently release the cough drops without compromising their integrity, lightly press the edges of the molds to create a bit of separation, then carefully push the drops out from the bottom. If they happen to stick, don’t worry; a quick trip to the freezer for a few minutes will firm them up, making it much easier to pop them out intact. For additional relief, consider exploring DIY herbal remedies for common cold relief.
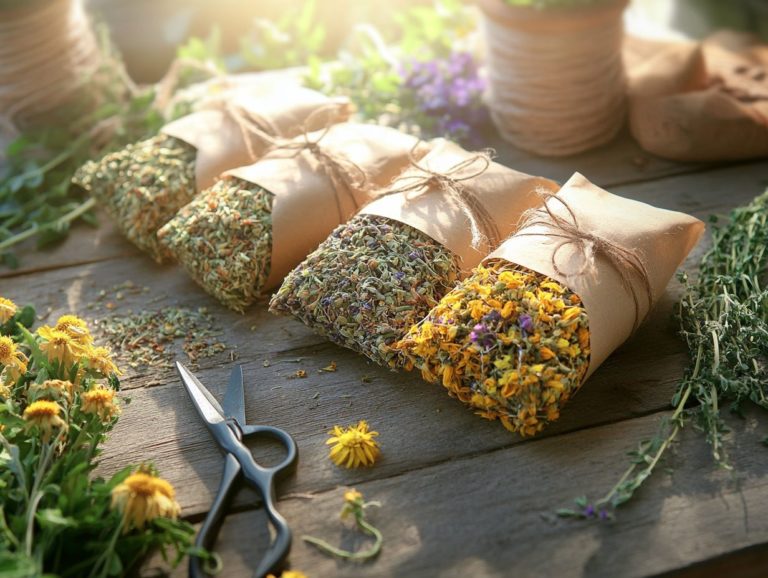
Once they re free, take a moment to admire the vibrant colors and charming shapes of your creation; they re not just functional but also a delight to behold. Don t wait too long remove the drops as soon as they’re ready for a perfect finish! You might even consider wrapping your delightful cough drops in small bags or jars for gifting, or simply store them in an airtight container to keep them fresh for your own enjoyment.
11. Store the Cough Drops
Properly storing your herbal cough drops is essential for preserving their freshness, flavor, and effectiveness as a soothing remedy for coughs and colds.
This ensures they re always ready for your family when needed.
To achieve this, consider using airtight containers that shield them from moisture and air, which can compromise their quality over time.
Place these containers in a cool, dark location, like a kitchen pantry or cabinet, away from direct sunlight to further extend their shelf life.
Label each container with the date they were made to easily track their age. This helps ensure you use them while they re still potent.
For families with children, store these remedies out of reach to keep them safe. Opt for child-proof containers or higher shelves to prevent any accidental ingestion.
12. Use Your Homemade Cough Drops
Your homemade cough drops are not just remedies; they are a delightful treat that your family will love!
Using these cough drops is a delightful way to soothe a nagging cough and alleviate chest congestion.
These natural alternatives can be remarkably effective when used judiciously. It’s essential to consider the proper dosage, particularly for the little ones, as they may need less than adults.
Generally, a child over the age of five can safely enjoy one drop every few hours, while younger children should consult a pediatrician before indulging.
In contrast to store-bought options, which often come laden with artificial ingredients and excessive sugars, your homemade treats provide not just relief but also fill your home with warm, inviting aromas.
Don t wait too long! Use your homemade drops while they re at their best for maximum relief.
The joy of creating these little droplets transforms cough relief into a shared family experience, nurturing both wellness and connection.
13. Tips and Tricks for Making the Perfect Cough Drops
Creating the perfect herbal cough drops requires a good understanding of tips and tricks that will elevate your DIY solutions.
This ensures they are not only effective cough remedies but also a pleasure to consume.
Experimenting with various spices and herbs can significantly enhance the flavor profile, making your drops more appealing and palatable.
Incorporating ingredients like honey or ginger adds a natural sweetness while introducing soothing properties that you ll appreciate.
It s important to strike a balance with the sweetness; too much can easily overshadow the herbal essence you re aiming for.
When you prepare your drops, be careful not to overcook the mixture, as this can lead to an undesirable texture.
If your drops end up too hard, simply add a little more liquid during the cooking process to achieve the perfect consistency.
Keeping a keen eye on measurements is crucial to ensure both effectiveness and taste in your final product.
14. Safety Precautions When Making Cough Drops
When you re making herbal cough drops, it s crucial to follow safety precautions to ensure that the ingredients you use are safe for kids and other family members.
Selecting well-researched herbs is key since some may contain compounds unsuitable for young children, potentially leading to bad reactions.
You should thoroughly investigate the safety profiles of various herbs before incorporating them into your homemade remedies.
When handling hot mixtures during the preparation process, pay special attention to proper storage to prevent contamination and preserve potency.
Keep these mixtures in airtight containers, away from direct sunlight and heat, to maintain their efficacy over time ensuring the well-being of everyone in your family.
15. Final Thoughts: Is Making Your Own Cough Drops Worth It?

Making your own herbal cough drops is rewarding. It offers a personalized remedy tailored to your family’s needs.
When you craft these soothing lozenges at home, you choose high-quality ingredients. This allows you to create unique flavors that everyone will love.
You can also adjust the strength of each cough drop to fit specific symptoms. This homemade approach is often more effective and enjoyable for the whole family.
Frequently Asked Questions
-
What are DIY herbal cough drops?
DIY herbal cough drops are homemade remedies for soothing a sore throat and reducing coughing. They are made with natural ingredients and can be customized to suit your preferences and needs.
-
What are the benefits of using DIY herbal cough drops?
DIY herbal cough drops provide a natural alternative to store-bought options, which may contain artificial ingredients. You can tailor them to target specific symptoms, such as using herbs to loosen chest congestion.
-
What ingredients are needed for making DIY herbal cough drops?
The basic ingredients for making DIY herbal cough drops include honey, herbs or spices, and optional flavorings like lemon or ginger. You’ll also need a saucepan, candy thermometer, and molds for shaping the drops.
-
Can I use any herbs or spices in my DIY herbal cough drops?
Yes, you can use a variety of herbs and spices, depending on the desired effect. Popular options include thyme, sage, peppermint, and ginger. Combining different herbs can create a more potent remedy.
-
Are DIY herbal cough drops safe for children?
DIY herbal cough drops can be safe for children, but consult with a pediatrician before giving them to young kids. Use milder herbs and reduce the honey, which is not recommended for children under one year old.
-
How long do DIY herbal cough drops last?
If stored properly in an airtight container, DIY herbal cough drops can last for several weeks. However, their strength may decrease over time, so it’s best to make small batches and use them within a week or two for maximum effectiveness.

